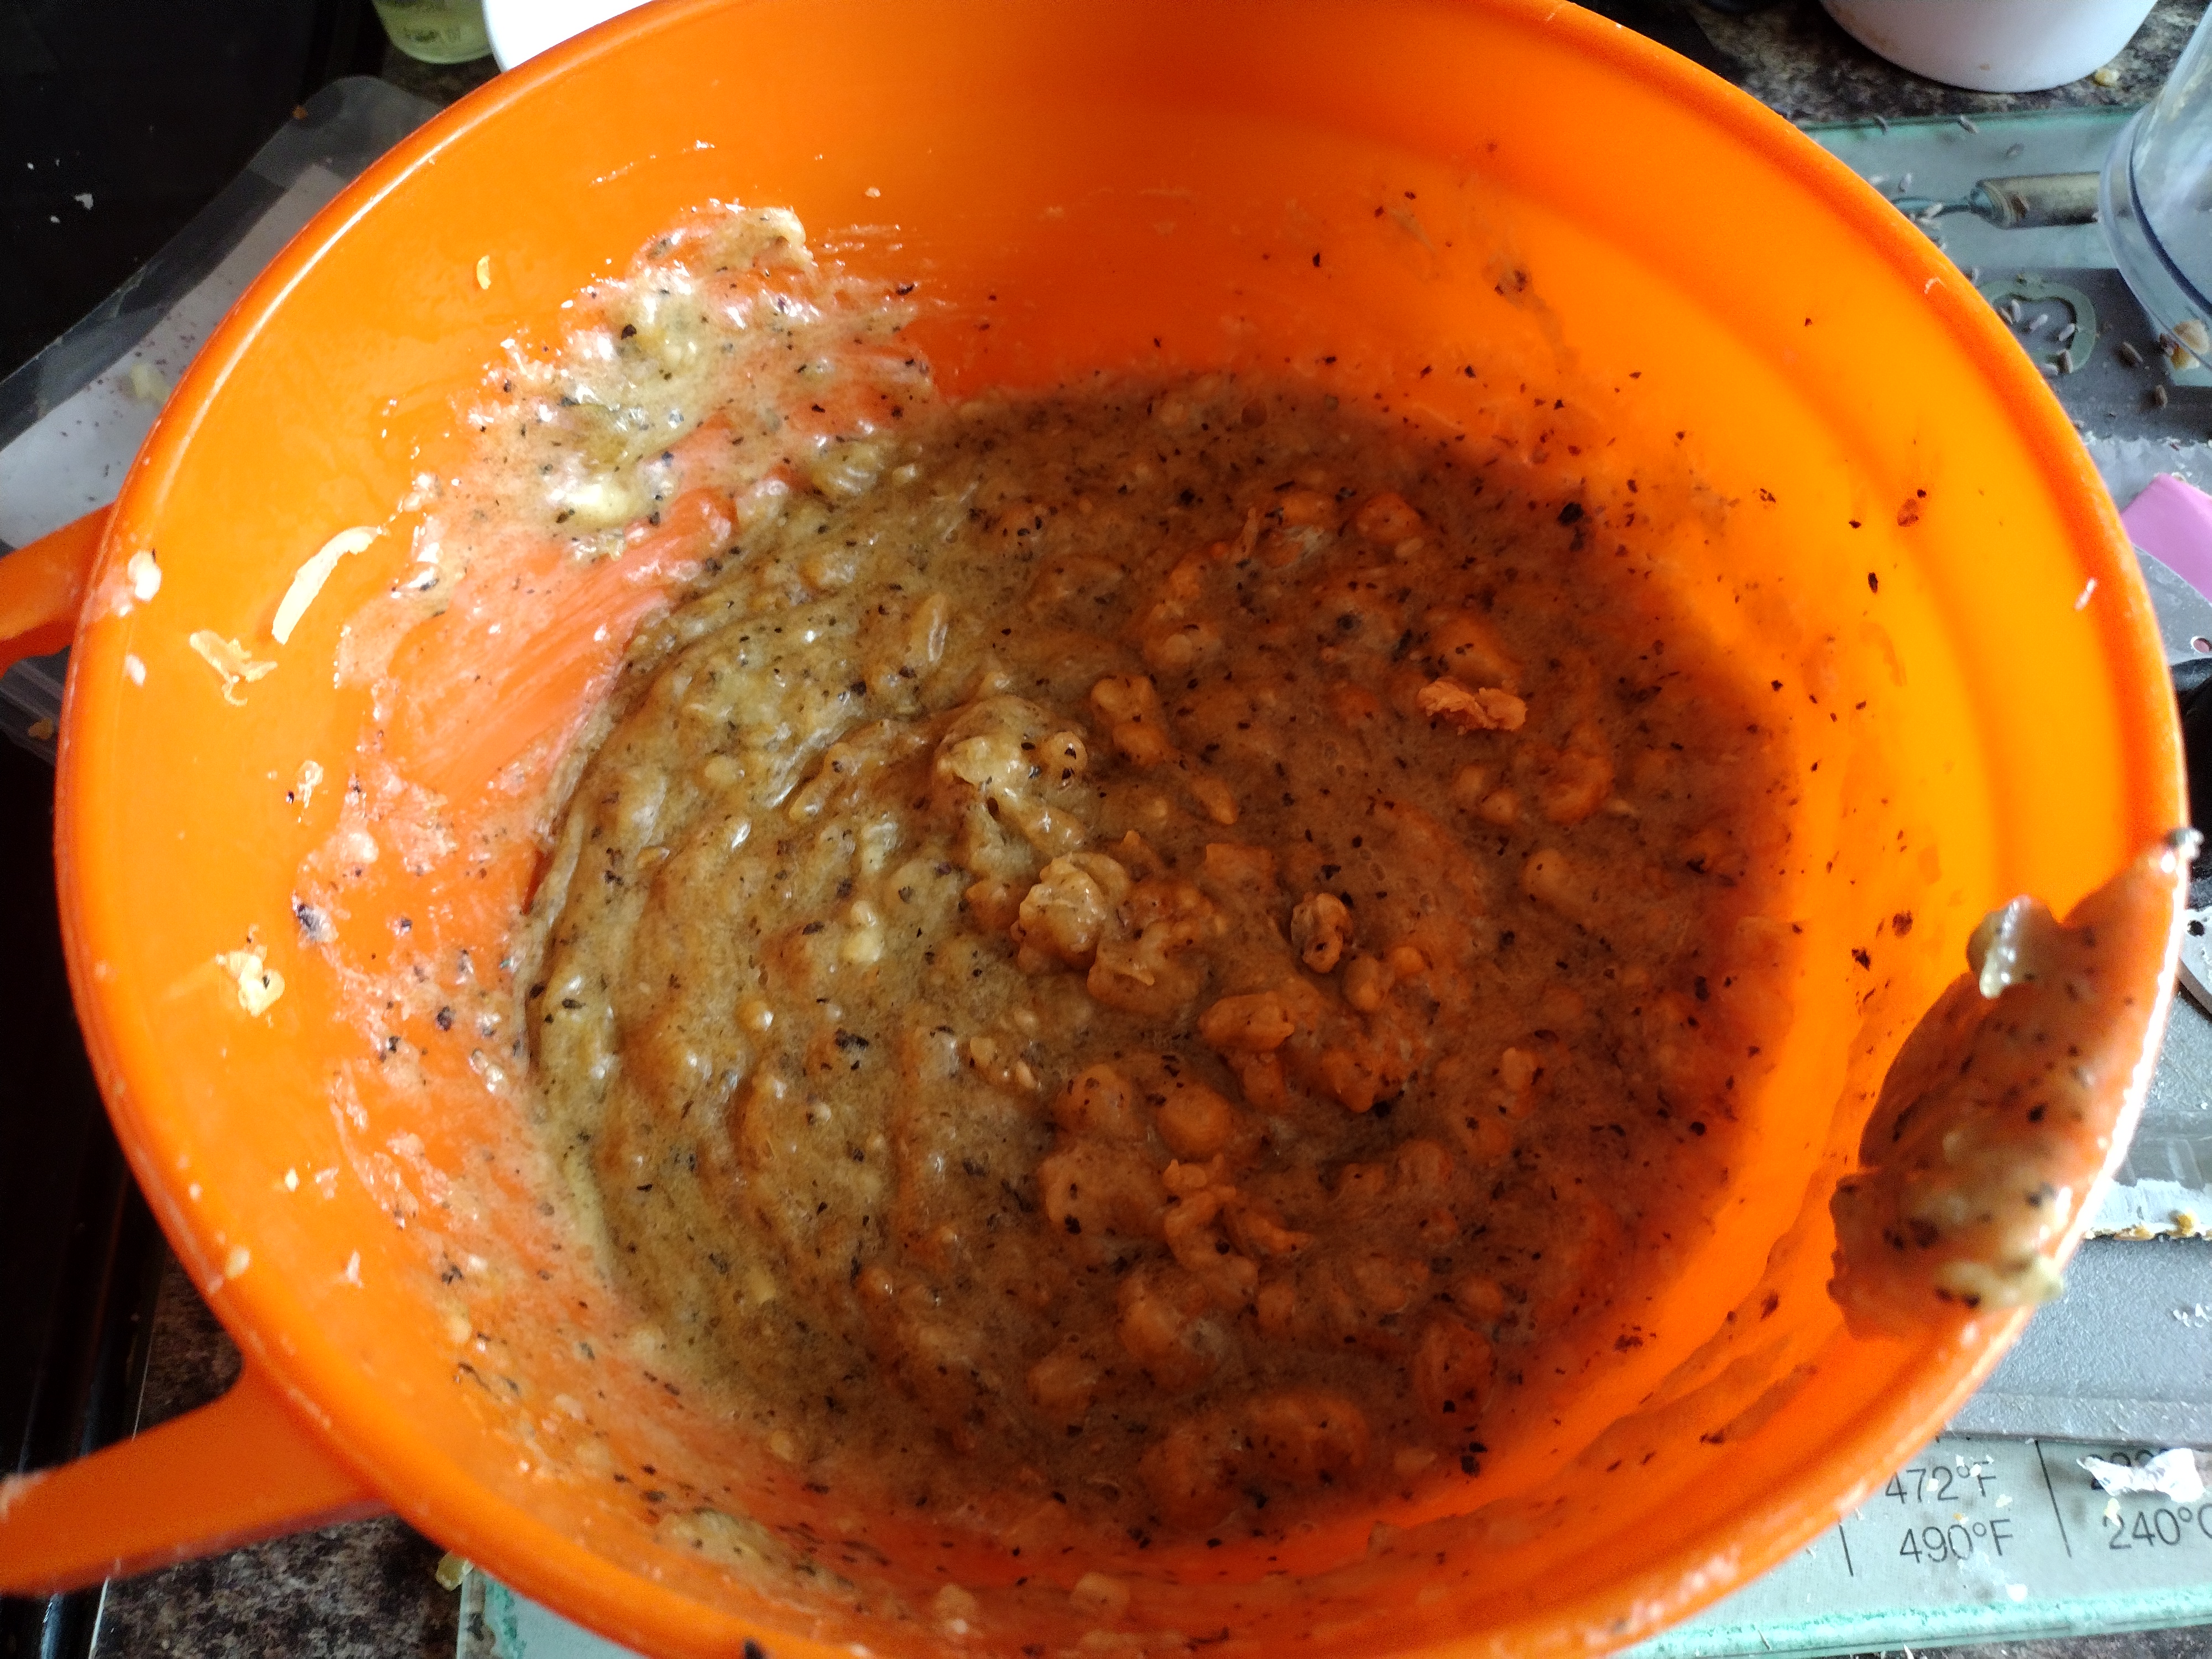
I don't really know what to call this; we had some cold turkey left over from the Church Christmas dinner, and I thought this would be a good way of using the remains. It was. It served both of us, and the photo shows what was left over, which we will bulk out with more veg.
I onion
1 quantity butternut squash (about 200g?)
1/3 large pack mushrooms
1 packet pre-cooked rice (I used mexed pepper rice from Lidl)
Quantity cold turkey or chicken
About 50-60 ml chicken stock - I used liquid stock)
Seasoning to taste
Peel and chop the onion and sweat in a little oil or butter, add the peeled and chopped aquash and let cook, covered, for about 5 minutes. Add the chopped mushrooms, and let cook a few more minutes. Now add the packet of rice, the chopped poultry and the stock - just enough to moisten, you don't want it swimming in it. Season. Let cook for a couple of minutes until boiling hot.
You can, of course, swap out the veg, or add more. Doesn't have to be the same twice! And if you had leftover red meat, it might work too, with the appropriate stock. Or use tofu or kegumes and vegetable stock to make it plant-based... The possibilities are endless!
Three nights ago, I made stuffed spaghetti squash for supper (link). There was about half left over, so tonight I decided to make it into a kind of meatloaf. Only not, because it has no meat in it!
I whisked up two eggs with some seasoning - the stuffing was extremely good, but I thought lacked salt, and might have been even nicer with a bit of spice in it. Then I put the stuffing into a large bowl, and poured over the eggs. Using my hands, I mixed it all together, then put it into a loaf tin and topped with grated cheese (because everything is better with cheese on the top, right?)
, and put it in the oven at gas 5 for about 40 minutes. I served this with a rich tomato sauce (link).
It wasn't quite as set as I'd hoped, but it really was delicious.
Would have happily served 3 - we had really rather a greedy amount each!
You can't often get spaghetti squash in this country, but I was delighted to be able to buy one in Germany or Austria (forget which) during our recent holiday (link).
So last night I rootled around on the Interwebs to see if I could find out what people liked doing with it, and this was the result.
1 small spaghetti squash, halved and seeds removed
1 onion, peeled and chopped
1 carrot, peeled and chopped
1 clove garlic, peeled and crushed
A few mushrooms, sliced
1 packet pre-cooked quinoa (I used Jamie Oliver's, which had wheat and other things in it, but plain quinoa would be very good, too. And you can always cook your own, if you prefer)
1/2 pack pre-prepared microwaveable vegetables (I had eaten half the pack last night, but as it was only me, the whole packet was too much!)
1/2 pack halloumi cheese, diced (optional).
Spray the halved squash with a little oil, and place cut side down on a baking tray. Put in a hot oven - Mark 6, 200 C (180 fan, 400 F), for 40 minutes.
Meanwhile, chop the onion and carrot, and crush the garlic. Put into a heavy-based pan with a little more oil on a medium heat, and leave to cook down for 20 minutes or so, stirring occasionally. Then add the mushrooms, and allow to cook for a few minutes before adding the quinoa and microwaveable veg. Stir thoroughly and season to taste.
When the squash is cooked, scrape the flesh with a fork - it should come out rather like spaghetti, but in my case it was more like angel-hair pasta, but hey!
Mix that, and the diced halloumi (if using), into the vegetable mix, and pile the skins full of this.
There will undoubtedly be a shedload left over, but you can use that in all sorts of ways. Put the filled skins back into the oven for 10-15 minutes and then serve at once. It was delicious, but could have used a touch more salt, and possibly a touch of chilli or similar spice.
So yesterday I made a sauce for pasta using a tin of chopped tomato with chili, and another tin of chopped tomato with onion and garlic, which I tossed into a pan with half a tin of water (rinsed out both tins), and left it to get on with it. But it was rather liquid, so to thicken it I got out a small tin of red kidney beans which I blended with a stick blender and stirred in. Seasoned, the sauce was delicious with Schwabian Maultasche, but we only wanted about half of it.
So tonight......
1/2 cup cannelini beans, soaked for one hour in boiling water
1 vegetable stock cube
1 very large onion (or two small ones)
1 red pepper
1 chili pepper
1 garlic clove
1 pack unsmoked lardons
The end of a punnet of mushrooms
1/2 quantity of tomato sauce, see introduction
Put the beans into a pressure cooker with 1/2 the onion, 1/2 the pepper, the chili, the garlic and the stock cube. Leave the onion and pepper whole; I did cut the chili in half and removed the seeds, but you don't have to. Cover with water, and cook on high pressure for 20 minutes. Allow to cool for at least 10 minutes before releasing pressure, and ideally let it release pressure naturally.
Chop the other half of the onions and pepper, and fry them up in a heavy-based pan with the lardons and mushrooms. Add the tomato sauce. Remove the onion, pepper and chili (and garlic if you can get it) from the pressure cooker, and blend with a tablespoonful of stock. Add this to the casserole. Stir well and check the seasoning, and let simmer for about 1/2 an hour. Serve with crusty bread and butter.
This has worked, quite beautifully! The soap, which we last saw in their moulds drying off in the airing-cup
board, hardened far more quickly than I thought it would, and I was able to turn it out yesterday. Meanwhile, I tried using one of the washballs, and found it delightful, so decided to make some more as I had a bit of time. They are currently hardening in the airing-cupboard (the original 5 are on the same plate, to make life easier!).
Then this morning I decided the moulded soap was hard enough to cut up, and, behold - 16 bars of soap flecked with lavender and/or rose-petals.
These can sit on the corridor cupboard to dry for a few more days, and next week I will wrap and label them, all ready to be given away!
As I still have a drawerful of ends-of-moulds and so on waiting to be used, I think I will use them up in these sorts of bars before making any fresh!
Those of you who know me well will know that I have been making my own soap for many, many years. It never ceases to amaze me how drain cleaner and cooking-fat can be turned into the most lush and lavish soap - I almost never wash my face with anything else.
However, this also means that I have a drawer-ful of bits of soap - mostly the ends of moulds that aren't nice enough to give away. We use these in our bathroom, but obviously a bar lasts some time, and the drawer was getting fuller and fuller.
But the other day, I came across this video on YouTube.
And that gave me some ideas. I started by making a few balls as proof of concept,
but then it occurred to me that one could make some extremely nice soap by melting down existing bars with rosewater or orange flower water, and maybe adding some ground-up flowers or herbs.
You start by grating your soap, 2 or 3 bars at a time,
then put in a bowl with your flowers, if using (I used lavender and rose-petals in the first lot, and just rose petals in the second lot. You moisten this with rose-water, or orange-flower water, and stir vigorously. Now at this stage you can absolutely form the resulting squidge into balls and let them harden off, as Sally does in the video, but I chose to melt the soap down. This is done in the microwave, a minute at a time, stirring vigorously between bursts. When it has gone fairly liquid and looks absolutely revolting,
pour into moulds (I used silicone loaf tins for this, to distinguish from the empty water-bottles I usually use), cover with cling-film or whatever, and put in a warm place to harden off.
When they are hard, probably in three or four days (although they'll have to come out of the airing-cupboard before then as it'll be wanted for clean laundry!), I'll unmould them, and probably slice them up a few days later.
If they are a success, I'll be using up all my ends before I even think about making more goats' milk and/or lavender and/or oat milk soap! I'll update on the results in Part 2.
Update: For Easter Day, I boiled up yellow onion skins the day before and left them to sit overnight, then boiled our breakfast eggs in them this morning, with this result:
In German supermarkets, they sell boxes of six or ten hard-boiled eggs, dyed pretty colours, all year round, and I often buy them, both for us to eat at lunchtime and to take home for my mother, who likes them.
However, we are not in Germany, and won't be going for another month, and it is Eastertide. I have vague memories of reading that one could dye eggs with natural ingredients, and then a picture form this post popped up in my Facebook feed. So I had a couple of experiments.
WARNING: The eggs, while perfectly edible, are horrendously hard - I still haven't quite perfected them. The ones you buy in Germany are hard-boiled, of course, but not to the extent that they get a black ring round the yolk, But I think it's probably difficult not to when making them at home.
The basic recipe is very simple. In a stainless-steel saucepan you put your dyestuff of choice (I used firstly 1/2 packet of frozen blueberries, and then secondly the skins of 5 or 6 red onions), and a large spoonful of vinegar. Fill the saucepan with water, bring to the boil, and simmer for 20-30 minutes (don't let the saucepan boil dry, which I nearly did!). If necessary, top up with cold water and bring to the boil again. Let it cool, strain out all the solids, and then add your eggs - as many as you can spare, or as can comfortably fill the saucepan, bring back to the boil and simmer for about 10 minutes, then let them cool in the liquid. If they aren't coloured enough, let them soak a little longer. Remove from the water and admire! When cold, polish with olive oil.
This was my first attempt, with blueberries:
and the next day's, with red onion skins:
Of course, the colours will vary according to whether you use white eggs (not so easy to get here, but Lidl does sometimes have them) or brown. I think for Easter Day I'll use yellow onion skins (maybe make the dye bath the night before) and then just boil the eggs as normal for Easter morning breakfast. We shall see....